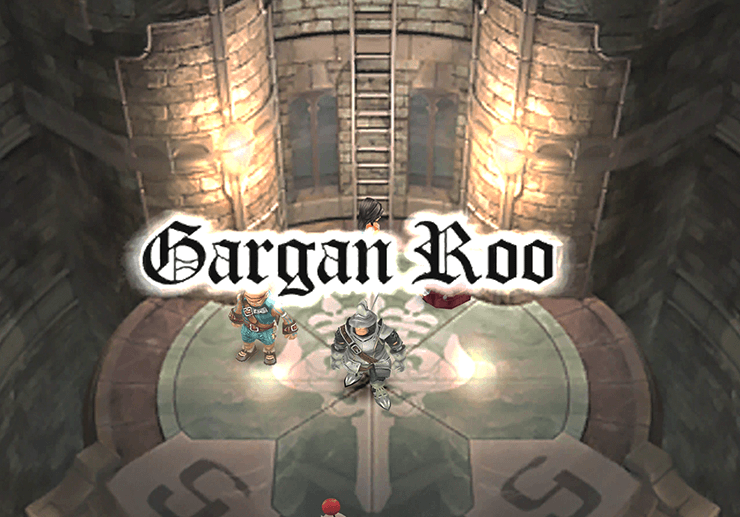
Gargan Roo is the extremely odd name given to an ancient tunnel that runs between Treno and Alexandria. A sequence trigger needs to be activated in order for the team to traverse through to the other side.
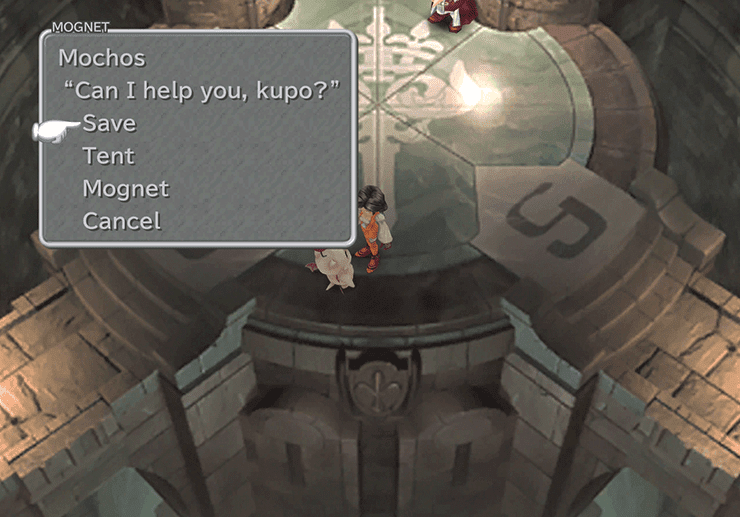
Start things off by speaking to Mochos the Moogle and selecting the Mognet option. Give Mochos the letter from Nazna. Save your progress before you continue.
Gargan Roo is also an extremely good place to level up your characters. You may think that it is useless to level up Marcus, a character who is only in your party temporarily, but on the contrary, any EXP earned by Marcus is transferred on to another permanent character who has not joined your party yet (Eiko). Enemies in this area also drop a lot of gil and award a lot of AP.
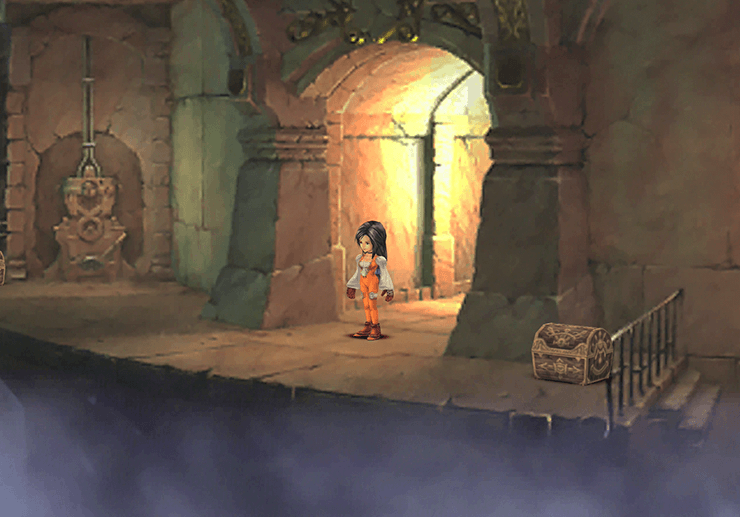
Take the pathway leading to the bottom-left (southwest) and grab the two treasure chests in this area. Once contains a ![]() Chain Plate and the second contains a
Chain Plate and the second contains a ![]() Phoenix Down.
Phoenix Down.
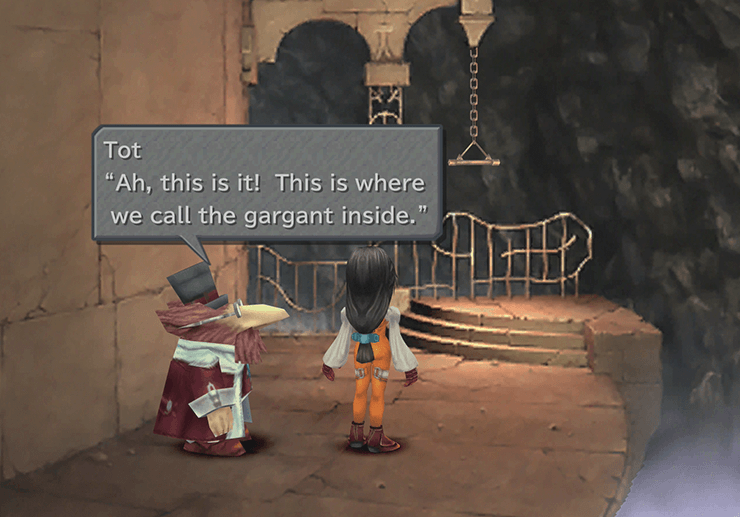
Pull the lever near the treasure chest with the Phoenix Down and then return to the previous area (the entrance). Exit this area but taking the other pathway out the bottom-tight (southeast) side of the screen. Travel north around the corner for a short cutscene involving Tot.
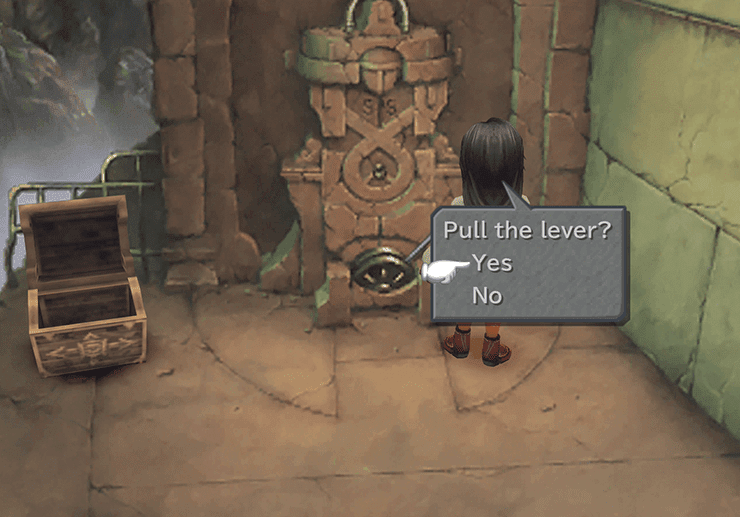
Doctor Tot will explain to Dagger that the entire Gargan Roo Treno station is shaped like a circle. By pulling the lever you can ride a Gargant from one area to the next. There is an upcoming boss fight that you should prepare for by putting the ![]() Antibody ability on each of your characters.
Antibody ability on each of your characters.
Steiner and Dagger should both have the ability but you won’t be able to put it on Marcus unfortunately as he does not have access to abilities. Press the “Feed” switch to the left of where Doctor Tot is standing to stop the Gargant from moving so you can get on.

Level: 13
HP: 2,296
Start off the battle by having Dagger use her ![]() Blind spell until it is successfully applied to Ralvurahva. Have Marcus continue to use Steal until he successfully steals both the
Blind spell until it is successfully applied to Ralvurahva. Have Marcus continue to use Steal until he successfully steals both the ![]() Bone Wrist and the
Bone Wrist and the ![]() Mythril Fork.
Mythril Fork.
Dagger should focus on her healing spells and allow Steiner to do most of the damage (which should be significant if he has the ![]() Blood Sword equipped). The boss will escape as soon as it reaches 0 HP.
Blood Sword equipped). The boss will escape as soon as it reaches 0 HP.
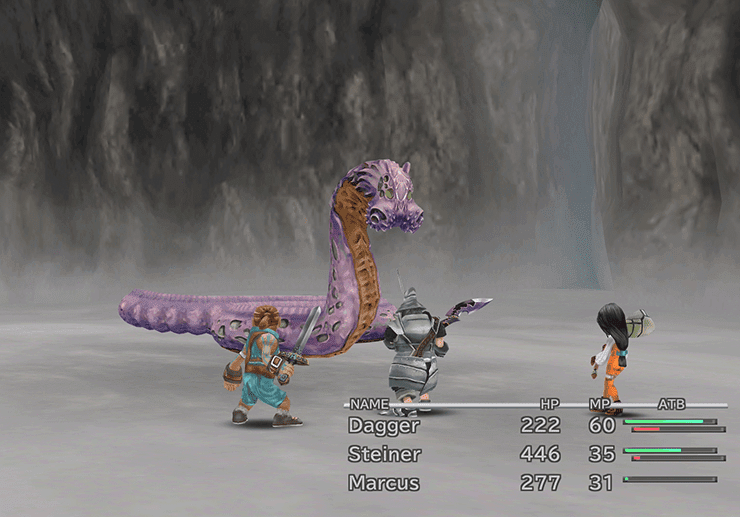
Steal:
![]() Bone Wrist (common)
Bone Wrist (common)
![]() Mythril Fork (uncommon)
Mythril Fork (uncommon)
Drops:
· (Nothing)
A video of the battle is included below:
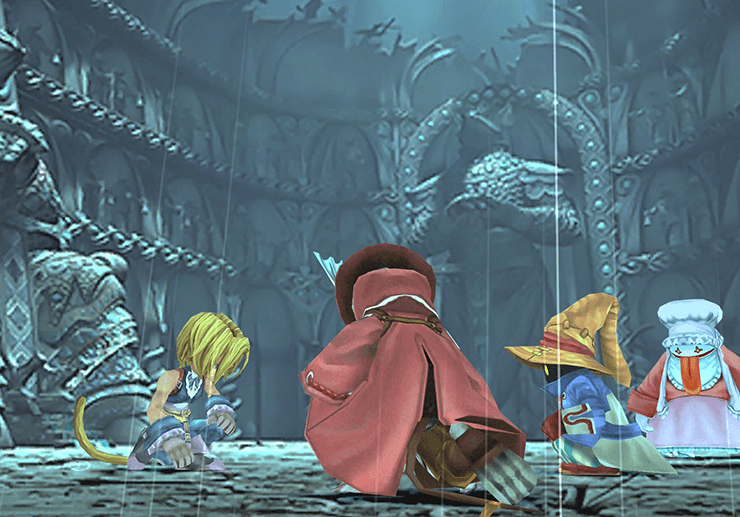
There are a few more scenes once Dagger, Steiner and Marcus reach the other station and the city of Alexandria. The team will be captured in a trap placed by Zorn and Thorn. The game returns to Zidane, Vivi, Freya and Quina back in Burmecia.

The story turns back to Zidane, Freya, Vivi and Quina in Burmecia. After deciding that they should journey towards Cleyra, Freya will suggest that the city lies in the desert west of Burmecia. The game continues just outside the city gates on the world map.
You have the option of turning in another Kupo Nut to Moguta back in Gizamaluke’s Grotto - part of the Kupo Nut side quest. The reward is just a random item.
You can also go back to Qu’s Marsh to catch more frogs - part of the Catching Frogs side quest. Click on either link for more information about those particular side quests.

Cleyra is located to the west of Burmecia not very far away. It is actually the huge Tornado/Whirlwind like feature that you had scene previously when completing the Chocobo Hot and Cold side quest. Walk up to the whirlwind and press the  Button to enter.
